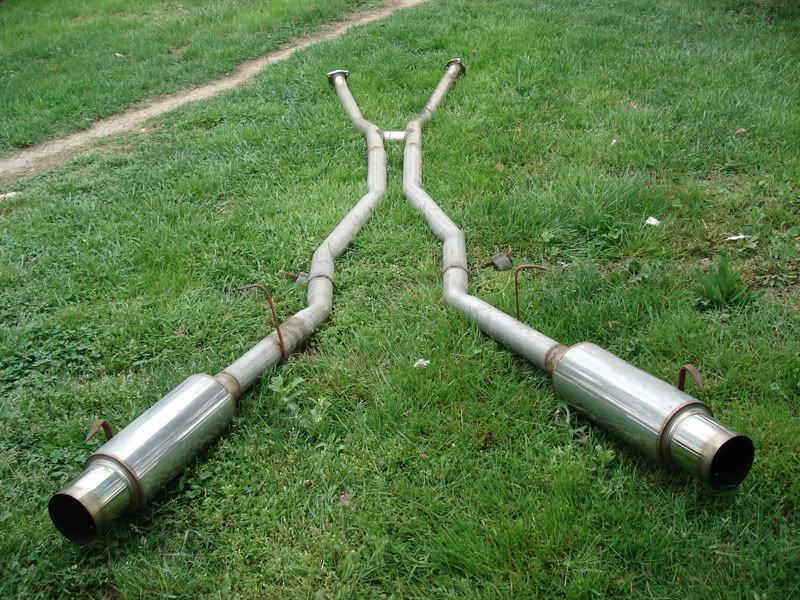
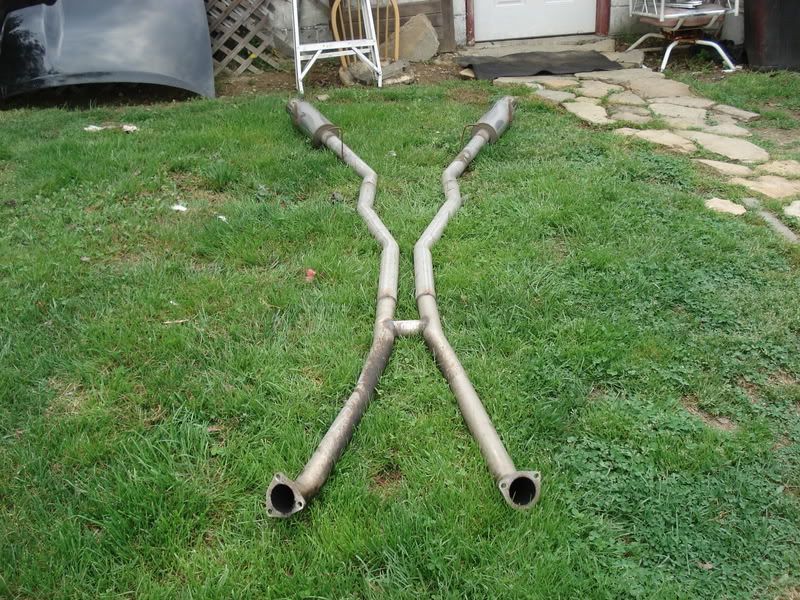
Annnywho the basics is it is a full 1 piece 2.5" dual exhaust from the downpipes back going back to a set of can style mufflers. It is a true 1 piece because other than bolting to the downpipes its all one welded unit that cannot be taken apart. It has a single H-pipe installed as soon as both exhaust sides start to straighten out. It is also VERY VERY LIGHT. I weighed it once when it was off of the car and it was amazingly light compared to the stock exhaust. You can literally pick it up over your head with one hand and carry it.
When I set out to do this exhaust I was on a budget given I had just been married and moved into a new house. I did however take time to sit down and draw up a good design that I knew would flow really well and not look dog ugly, to me anyways.
Here is the breakdown with pics.
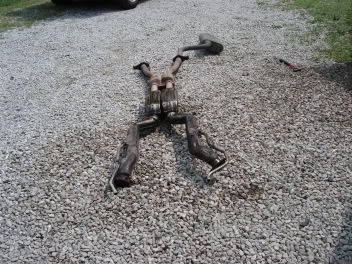
Here is the stock twin turbo exhaust unit that is bolted up in 3 separate pieces on each side. Its missing a muffler in the picture. Big and nasty huh??
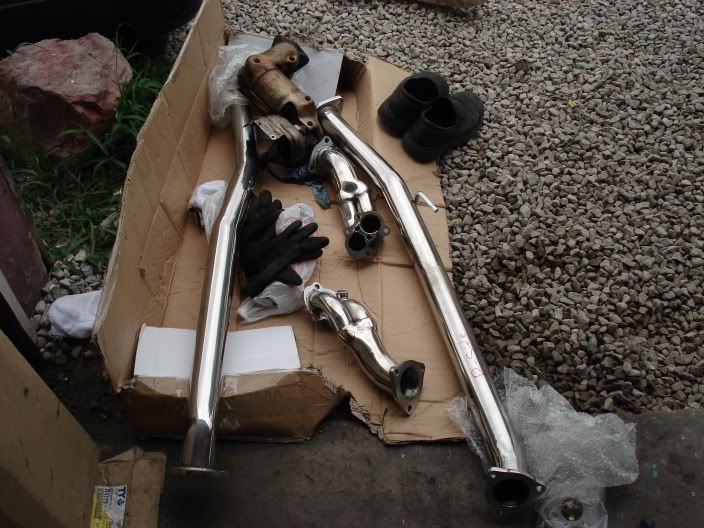
The kit started out with a set of divorced downpipes and a set of mandrel bent test pipes pictured here;
I installed the downpipes and left the test pipes open, VERY LOUD. The reason is because I had already drawn up a design for the new exhaust and was going to take it up the next day to help hand make it. The first design I drew up was based on the current mufflers I had which were flowmasters. I had been told that they were a different series that were ok for turbo cars which means they flow pretty much straight through. Later on though I found the series number and realized that they were NA only mufflers and had been severely killing my cars power by choking it nearly to death.
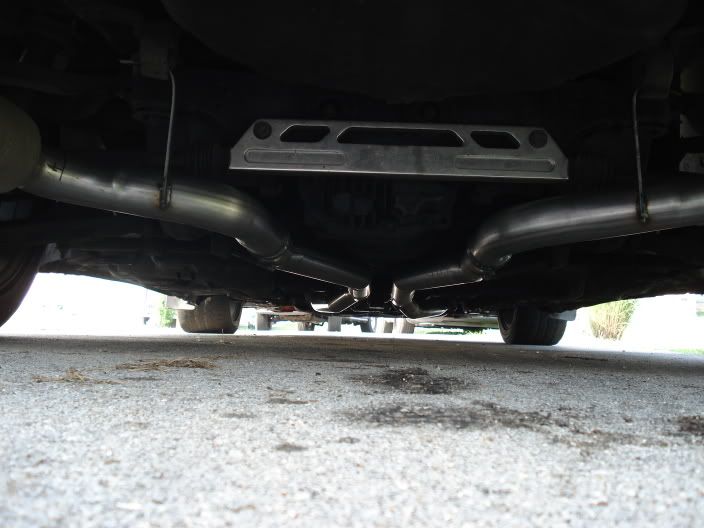
Here is a picture from underneath with the flowmasters installed. It is a lot different now because I angled the exhaust mufflers so there would be less of a bend. Also at this time it had no H pipe installed so it was a very true dual exhaust.. neither side of the exhaust touched the other from front to back.
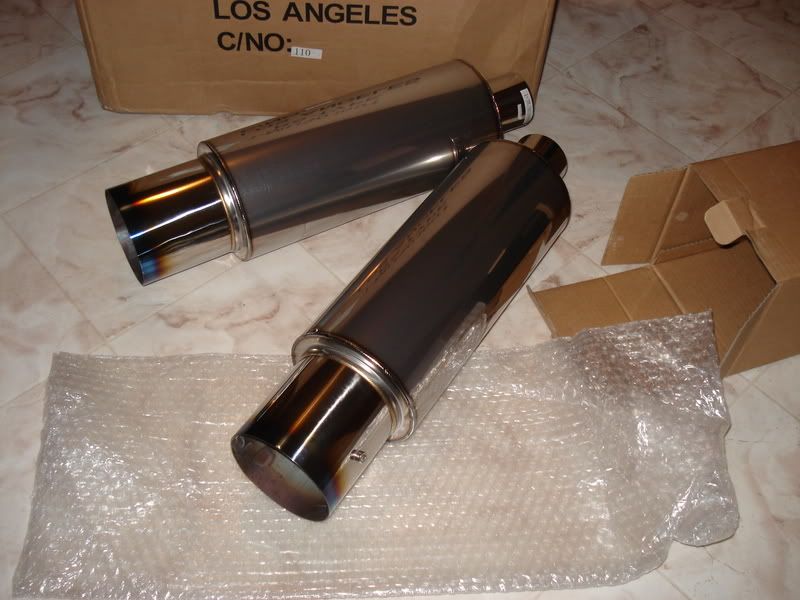
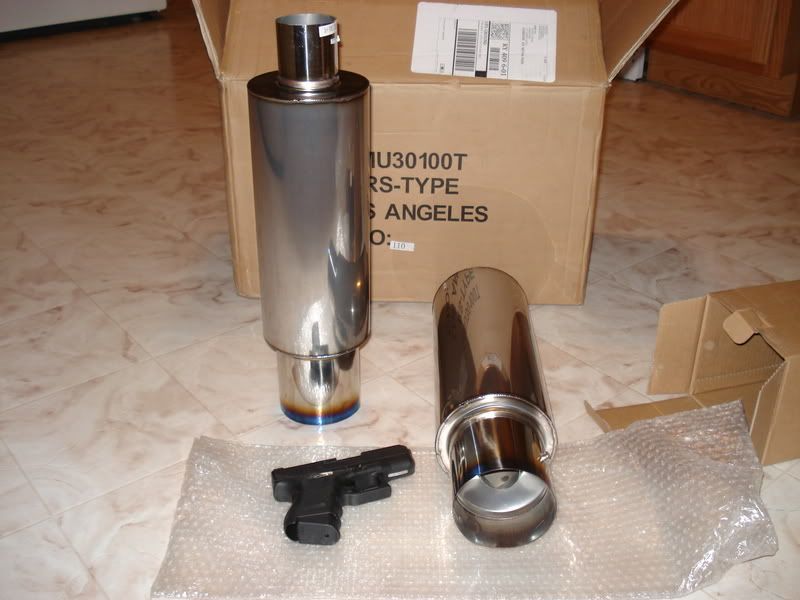
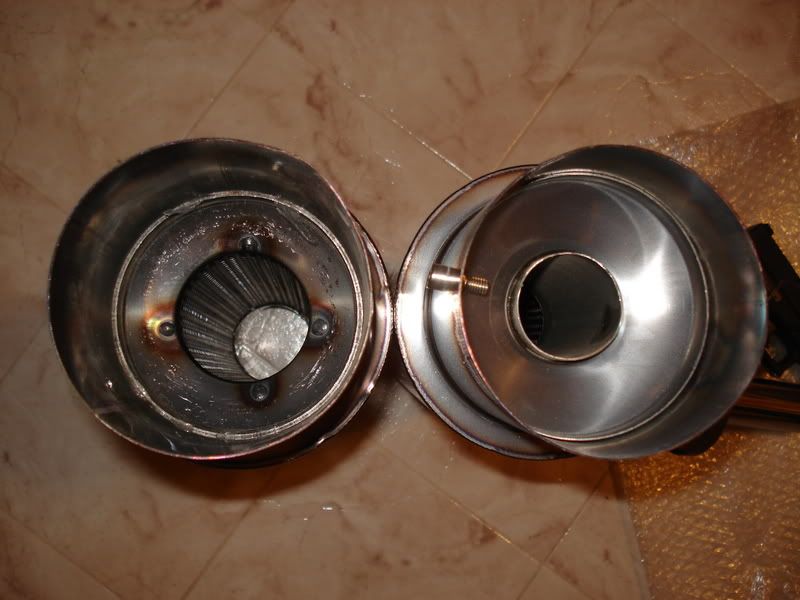
I ordered a cheap set of can mufflers from ebay to hold me over for a while until I could find some NUR spec units which I have still been unable to find at a reasonable price. I think these cost me in the neighborhood of $50 shipped on ebay lol
Here is the exhaust in its final form and redesign. You can see here that I used the original test pipes and cut the rear flanges from them which allowed me to actually weld on the other parts and make it a true one piece. I will try to get some more measurements and the angles written down for you guys so you will have exact instructions to make your own. If you are making one before I get them up, just show the exhaust fab person mine and let them do their best to get it as close as possible. It also has very simple/cheap hangers because I wanted to be able to take it off very quickly at the track by myself if need be for open downpipe runs which never happened but its nice knowing that I can take it off in just a few minutes. This is the first time I have ever posted pictures of the exhaust so I really hope this helps you guys out there that wanted me to help you with designing one like mine. This is after about a year of use and I had a power steering leak at the time. Enjoy :)
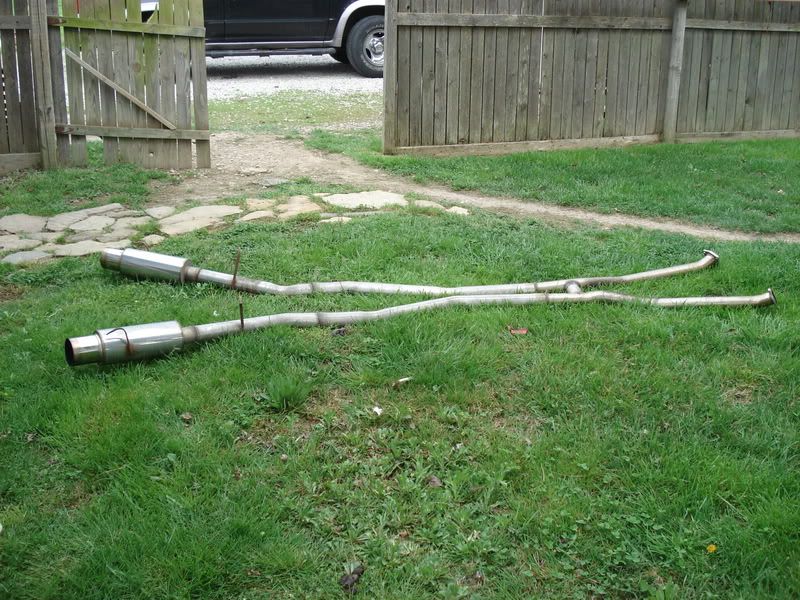
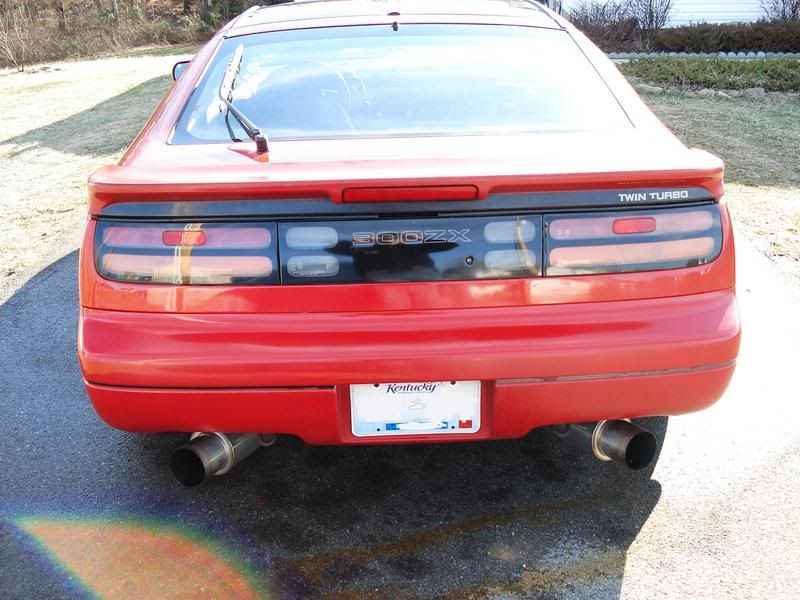
and here it is installed. I will try to find a pic from under the car after the redesign.
Here are a few videos. The first is an exhaust comparison between the first design I did and the second. In the first video also both videos within were taken hours apart. It still sounds a LOT deeper in person. Just make sure you check out the in car video as well which is what it sounds like in real life from the outside if that makes any since.
Here is the in car video. This is exactly what the car sounds like from the inside with the silencers out.
Here it is from the front and very far away.. listen to how loud it is.
And last is one from an enclosed parking lot. Its very loud, listen to the turbos whistle the entire time lol Has a nice little engine rev at the end.
The exhaust made such a wonderful difference. It seemed with just the blip of the throttle the turbos were spooled and I was either nailed against the seat or sideways according to what gear I was in. On high boost this exhaust sounds so so so so good. Anyways I hope this helped some of you or it was at least a good read. Thanks and if you have any questions be sure to leave a comment on this blog and please add me as a friend if you like my work. Again keep checking back for updates on the new engine build! I should have many many pictures and a video of the "last drive" which will be the journey across town with me driving the car to the garage I will be tearing it down in. It will be the last drive on that engine setup though which will make me sad after it being so faithful after close to 5 years.

How much would adding cats and making the tips exit the rear at more of a right angle to the bumper change the sound?
ReplyDelete(Awesome write up by the way. Your in-car vid made me decide to buy a Z after I first saw it.)
ReplyDeleteOHH!!really fantastic.
ReplyDeleteIn all youtube, your car makes the diferent.
I have the same downpipes and testpipes, but then I have Mongoose Cat-back..and I don´t like this..
I the next month I try to make this desing.
PD:If you travel to Spain, I pay you some Beers!!
Thanks for this Blog !!
Iguanapeluda
I have a question, the conexion realised in the downpipes, are the same effect that I will connect in the cat-back??
ReplyDeleteI think that the back-pressure will be different...but the sound?
Thanks
Iguanapeluda
Please people don't add cats to the end of your exhaust. The whole effect will be ruined if you do so. I did exactly what he did and I calculated the effects of adding catz that the airflow will come out differently and there will be no point in doing so. I added this to my STI. Sounds even more BADASS!!!
ReplyDelete~~~~~~~~2005 Subaru WRX STI 736WHP ~~~~~~~
Excellent article - thanks! It seems that you have answered the best related to the Topic with all best example as well... Thanks again for spreading the good work in the Society ...
ReplyDeleteMufflers
This is great, and the exhausts sounds great. After this one is triggered to install one of the exhausts and experience the difference in the sound like you have. I will be ordering some, online soon.
ReplyDelete